Achieving the Perfect Console to TV Setup for the Best Experience
13 May 2025
Alright, gamer fam, let’s talk about something crucial today. No, it’s not how to beat that impossible Elden Ring boss, and no, it’s not why Mario keeps chasing Peach even though she’s clearly not that into him. We’re diving into how to achieve the perfect console-to-TV setup. Because let’s be real—what good is fragging your friends or exploring vast open worlds if the picture looks like you’re gaming through a potato and the sound quality reminds you of drive-thru speakers?
Grab some snacks, dust off your HDMI cables (you know they’re tangled somewhere), and let’s make sure your gaming experience becomes the visual and auditory nirvana it was meant to be. 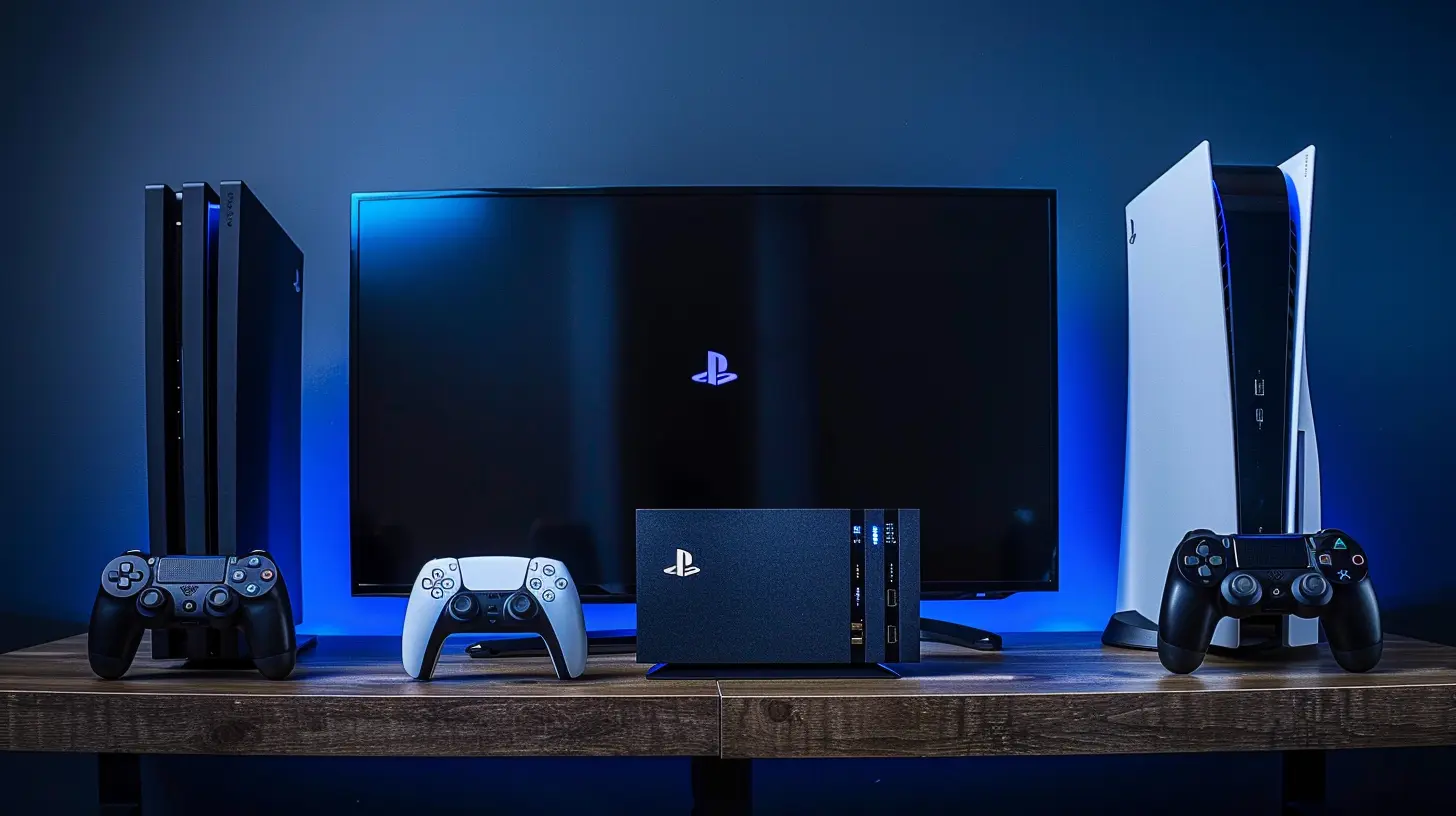
Why Your Console-to-TV Setup Matters
First thing’s first—why does this even matter? Can’t you just throw your console on the shelf, connect a random cable, and call it a day? Technically, yes. But that’s like putting ketchup on steak. Sure, it works, but you deserve better (and so does the steak, honestly).A proper gaming setup not only enhances your experience but also protects your precious gear. A bad setup can lead to laggy visuals, ear-piercing audio distortion, or, worst of all, a spaghetti mess of cables that everyone just pretends not to see. So, let’s address this once and for all. 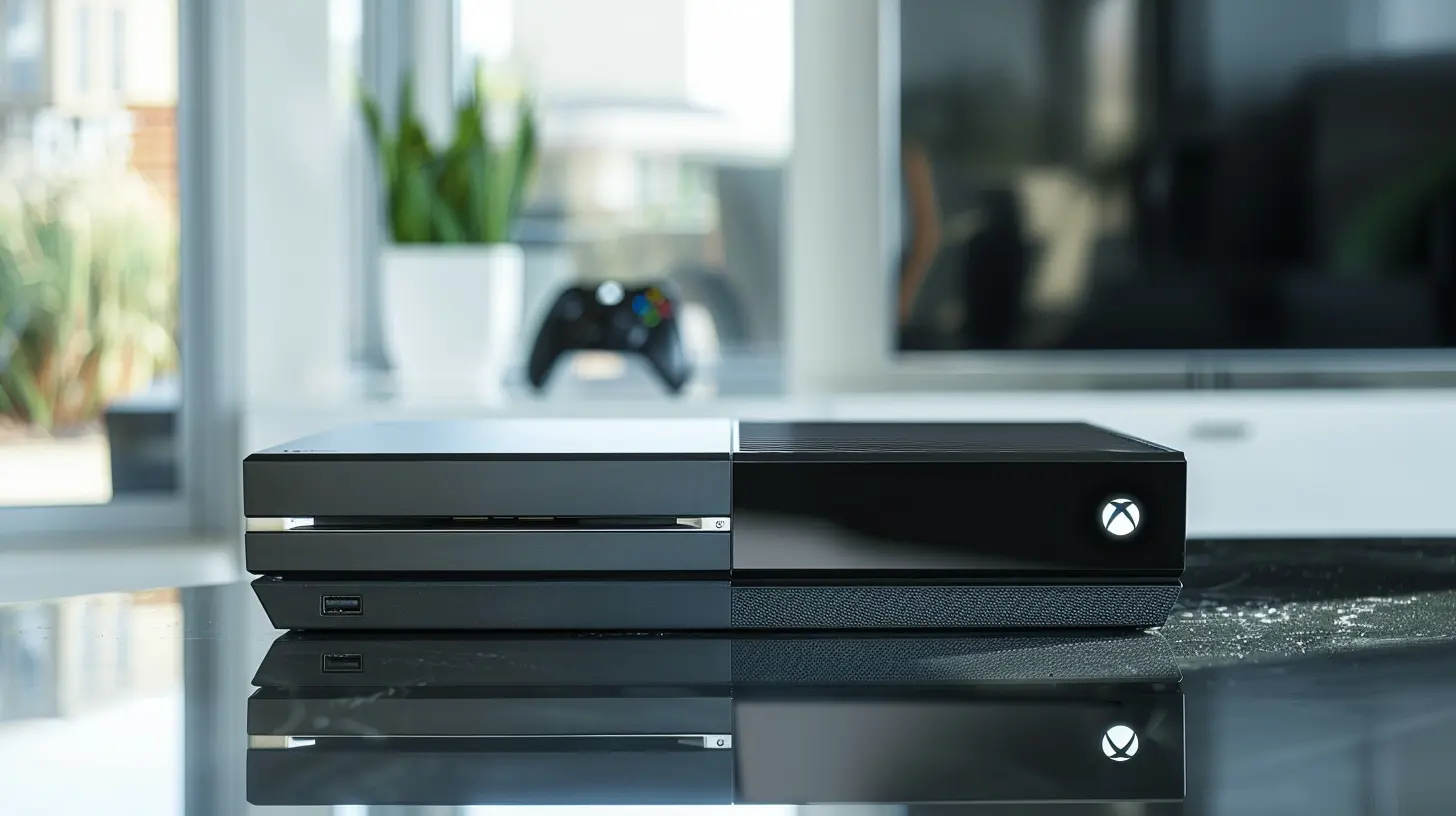
Step 1: Pick the Right TV for Gaming
Let’s start with the big daddy of your setup: the TV. If you’re still gaming on a decade-old flat-screen that takes 15 seconds to turn on, it’s time for an upgrade, my friend. Here’s what to look for:Size Matters, but Bigger Isn’t Always Better
Sure, a 75-inch TV sounds awesome until you’re sitting three feet away from it and can’t see the whole screen without developing neck pain. Match the TV size to your room size. A 55-inch TV is usually a sweet spot for most living rooms. If you’re gaming in a dorm room or small apartment, a 43-inch could save your relationship with your eyeballs.4K or Bust (Unless You’re on a Budget)
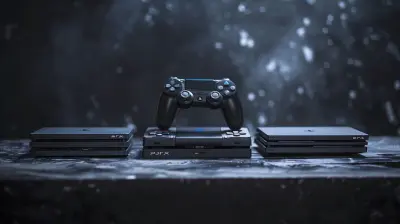
If your console is next-gen (looking at you, PS5 and Xbox Series X), you want a TV that supports 4K resolution. But if you’re gaming on something older (hey, PS2 lovers, I see you), a decent 1080p TV will do the job.Refresh Rate: The Secret Sauce of Smooth Gaming
The refresh rate is how many times your TV updates with new images per second. The higher, the better. Aim for at least 120Hz because no one likes a choppy frame rate when they’re trying to no-scope their enemies in Call of Duty.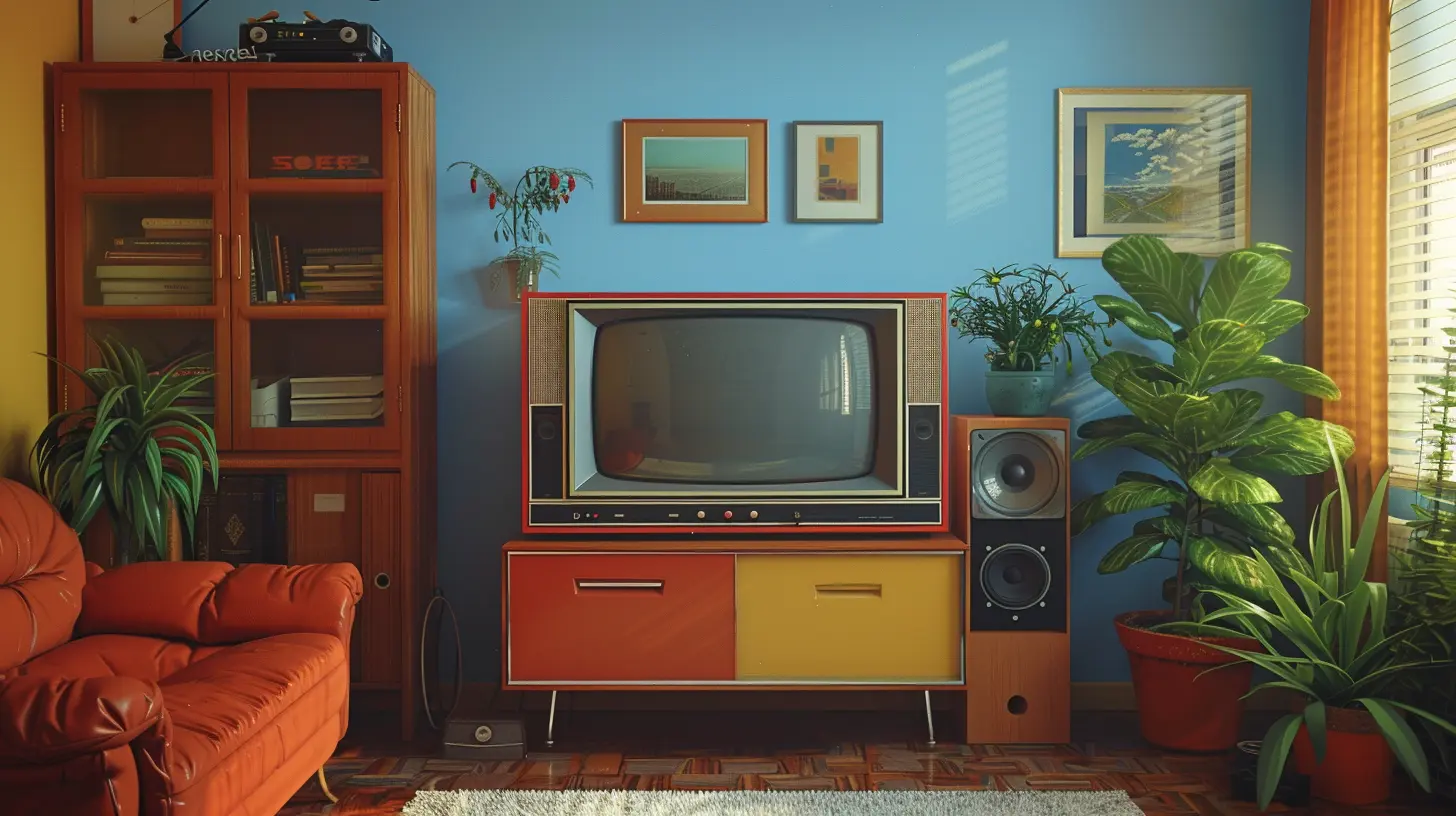
Step 2: Choose the Right Spot for Your TV
Now that you’ve got the TV, where the heck do you put it? Let’s not just slap it on the nearest table and call it a day. Placement is key to a comfy viewing experience and, more importantly, not breaking your neck mid-game.Eye-Level is the Holy Grail
Mount your TV or place it on a stand so the center of the screen is at eye level when you’re sitting. Looking too far up or too far down isn't just bad for your posture—it makes you look like a bobbing pigeon.Avoid the Glare Grind
Natural light is lovely…until it turns your TV into a giant mirror. Instead of staring at your reflection mid-game, position your TV away from windows or invest in blackout curtains.
Step 3: Perfecting the Console Placement
Your console is the star player here, so treat it like royalty. And by royalty, I mean don’t shove it into a cabinet with zero airflow. That’s asking for a thermal meltdown.Keep It Cool
Consoles can run hotter than your mom’s oven on Thanksgiving. Make sure there’s plenty of air circulation. Avoid placing it directly on carpets (dust city) or stuffing it into tight spaces.Tidy Up Those Cables
Remember that spaghetti mess we talked about earlier? Yeah, don’t let that happen. Use zip ties, Velcro straps, or cable sleeves to keep everything organized. Bonus: A clean setup just feels faster, right?Step 4: The HDMI Cable MVP
I don’t want to alarm you, but not all HDMI cables are created equal. Some people cheap out on cables and then wonder why their 4K game looks like 144p YouTube.Use HDMI 2.1 for Next-Gen Consoles
If you’re rocking a PS5 or Xbox Series X, you need a cable that supports HDMI 2.1 for all those juicy features like 4K at 120Hz and Variable Refresh Rate (VRR).Keep It Short and Sweet
Longer cables can lead to signal degradation. Keep your HDMI cable as short as possible while still reaching from your console to the TV.Step 5: Audio Setup Is the Cherry on Top
What’s the point of jaw-dropping visuals if your sound is like tin cans on strings? A solid audio setup completes the experience, turning explosions into bone-rattling booms and dialogue into crystal-clear banter.Soundbars Are Your New Best Friend
Built-in TV speakers? Yeah, no. Invest in a decent soundbar or surround sound system for that immersive feel. You’ll thank me when your controller vibrates in sync with the bass.Headsets for the Hardcore Gamers
If you’re a late-night gamer who doesn’t want angry neighbors or roommates, a quality gaming headset is a must. Plus, they’re perfect for trash-talking in multiplayer without anyone hearing your dog snoring in the background.Step 6: Enable Game Mode (Seriously, Do It)
I can’t tell you how many times I’ve walked into someone’s house, and they’re gaming without enabling Game Mode on their TV. It’s like asking someone to drive a Ferrari in first gear!Game Mode reduces input lag, making your gameplay smoother and more responsive. Most modern TVs have this option, so turn it on. Your trigger finger will thank you.
Step 7: Don’t Forget the Extras
We’re officially in the bonus round. So, here are some extras that take your setup from good to “holy crap, this is amazing.”RGB Lighting for the Vibes
Nothing says “gamer” like RGB lights. Add LED strips behind your TV or under shelves to create a cool glow. Plus, it helps reduce eye strain during long sessions. You’re not just a gamer—you’re aesthetic.Get a Surge Protector
Fancy TVs and consoles aren’t cheap, so protect your investment with a good surge protector. Lightning strikes and power surges are real, folks, and they don’t care how close you are to a save point.Troubleshooting Common Problems
What if things still aren’t perfect? Let’s troubleshoot some common issues:- TV Looks Too Dark During Games:
Check your HDR settings. Sometimes TVs come with HDR turned off, and we don’t want that.
- Laggy Gameplay:
Make sure Game Mode is on, your HDMI cable is high-speed, and your internet is at least faster than a sleepy snail if you’re gaming online.
- Console Overheating:
Double-check the airflow. If it’s still an issue, maybe your console needs a cleaning session—dust builds up faster than you’d think.
The Final Boss: Enjoying Your Setup
Congratulations! You’ve beaten the boss of console-to-TV setups. Now, all that’s left is to sit back, grab your controller, and dive into your favorite game. Whether you’re racing through the streets of Los Santos or battling the Ender Dragon, your perfect setup will make every pixel and sound feel like magic.And hey, if anyone asks how you leveled up your setup game, just tell them it’s a trade secret (or send them this article, I won’t mind).
all images in this post were generated using AI tools
Category:
Console GamesAuthor:

Pascal Jennings
Discussion
rate this article
3 comments
Zayn Peterson
Great article! Achieving the perfect console to TV setup really enhances gaming. I appreciate the tips on optimizing audio and video settings. Investing in quality cables also makes a noticeable difference. Excited to try these suggestions!
May 15, 2025 at 3:01 AM
Pascal Jennings
Thank you for your feedback! I'm glad you found the tips helpful—enjoy optimizing your setup!
Dean Jones
Great tips for optimizing console and TV setups! The right combination truly enhances gaming experiences, making every session more immersive and enjoyable.
May 14, 2025 at 4:57 AM
Pascal Jennings
Thank you! I'm glad you found the tips helpful. Enhancing your setup really can transform your gaming experience!
Thornewood McPhail
This article brilliantly highlights the essential elements for optimizing a console-to-TV setup. From the importance of display settings to audio calibration and cable management, it’s a must-read for gamers seeking to elevate their experience. A well-crafted setup truly transforms gaming into an immersive adventure!
May 13, 2025 at 3:20 PM
Pascal Jennings
Thank you for your insightful comment! I'm glad you found the article helpful in enhancing your gaming experience. Happy gaming!